
Elder Scrolls: Call to Arms - Part 2 - Bleak Falls Barrow Delve Set

In Part 1 of our Elder Scrolls: Call to Arms review, we looked at the Core Rules Box but before we get into the meat of the game it was time to open one of the Boxes and look at some of the miniatures!
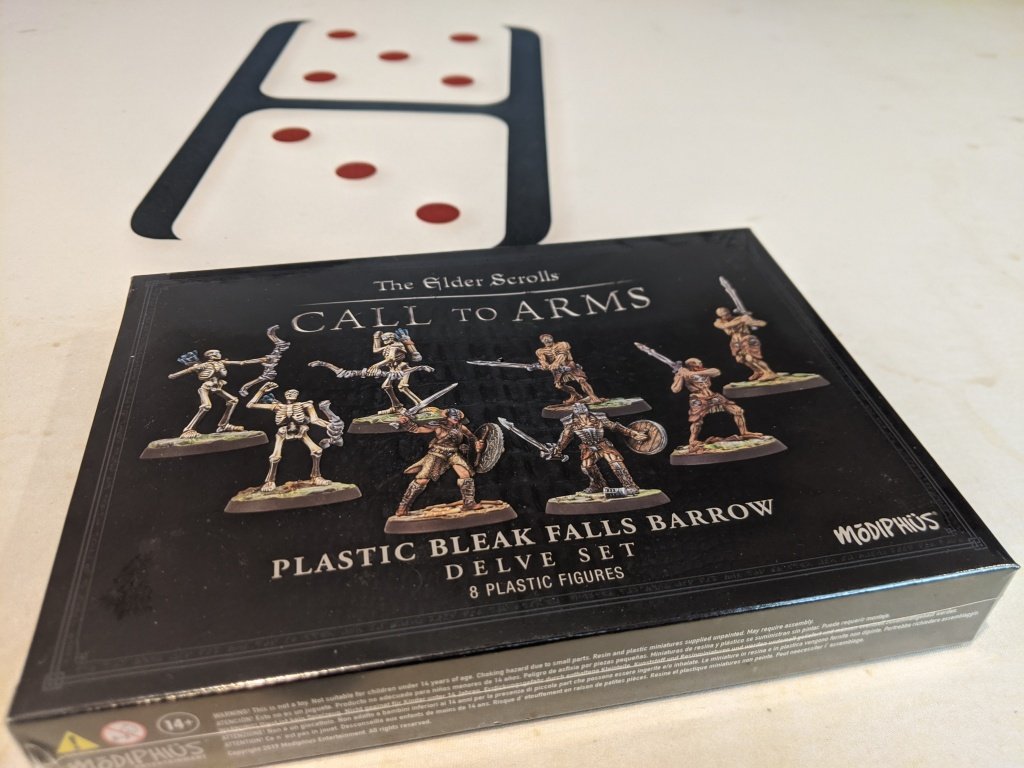
I am doubly looking forward to getting some miniatures built now that I have finished going through the basics in the Rule Book, and seeing as all of the Learn to Play stuff assumes you have it anyway, we are going to start with the first Delve Set, Bleak Falls Barrow.
Opening up the box and we are greeted with exactly what you would expect, as single sprue, some bases and an instruction booklet.
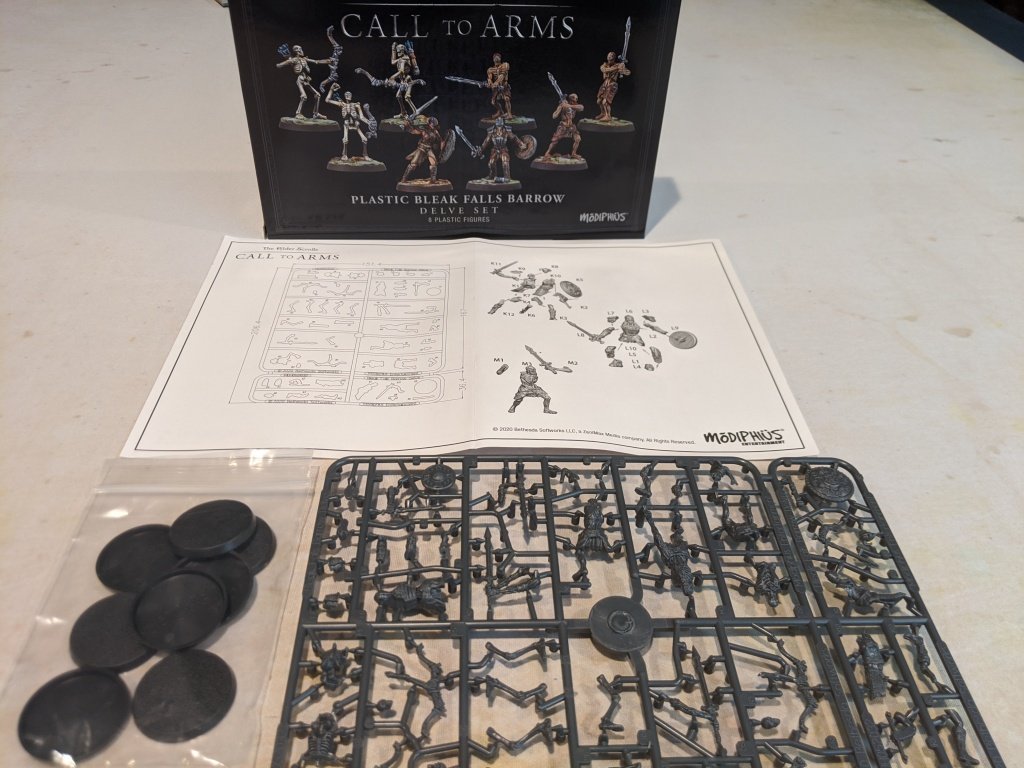
As I get a closer look at the busy sprue, I see that most of the models look like they will be easy enough to put together, it's a bit of a mixed layout with most of the parts for each model being next to each other but some like parts also being spread next to each other too, that's a slight annoyance, as I prefer consistency of one system or another, but the parts are all clearly labeled, so it's not too difficult to find what you need, but it is one of those boxes where you want to only snip the parts for one model at a time and build as you go.
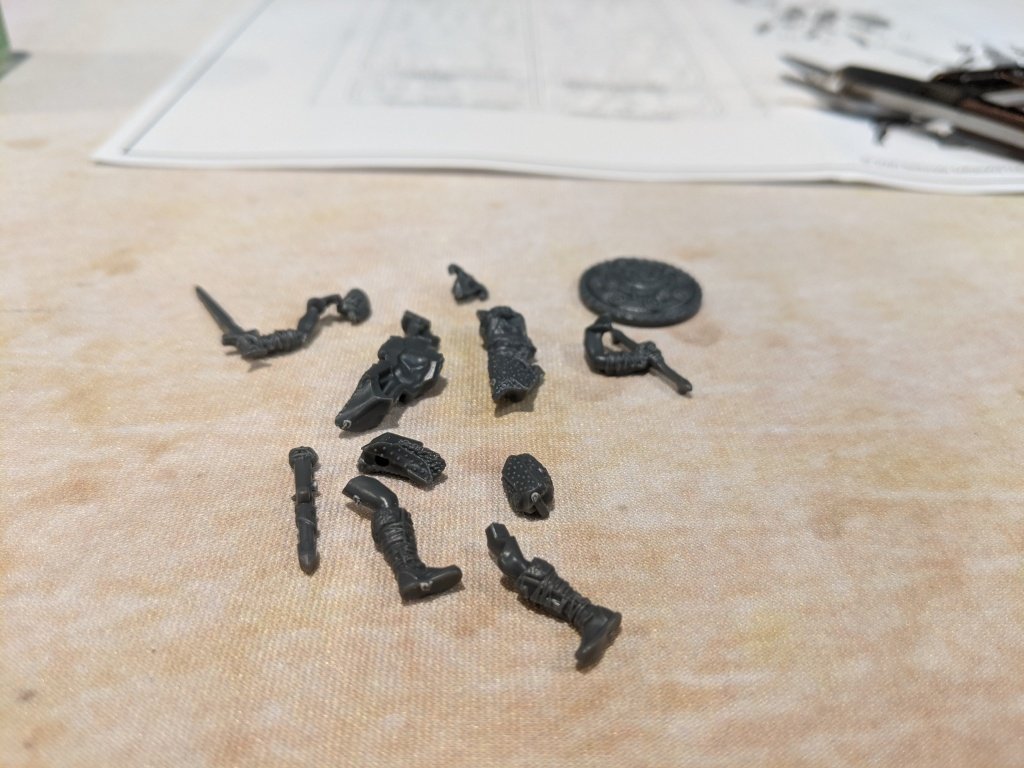
This is only exasperated with the miniature for the Dragonborn and the Draugr Overlord, both of which have an abundance of parts with some, let's say interesting choices for where it has been sliced to go on the sprue.
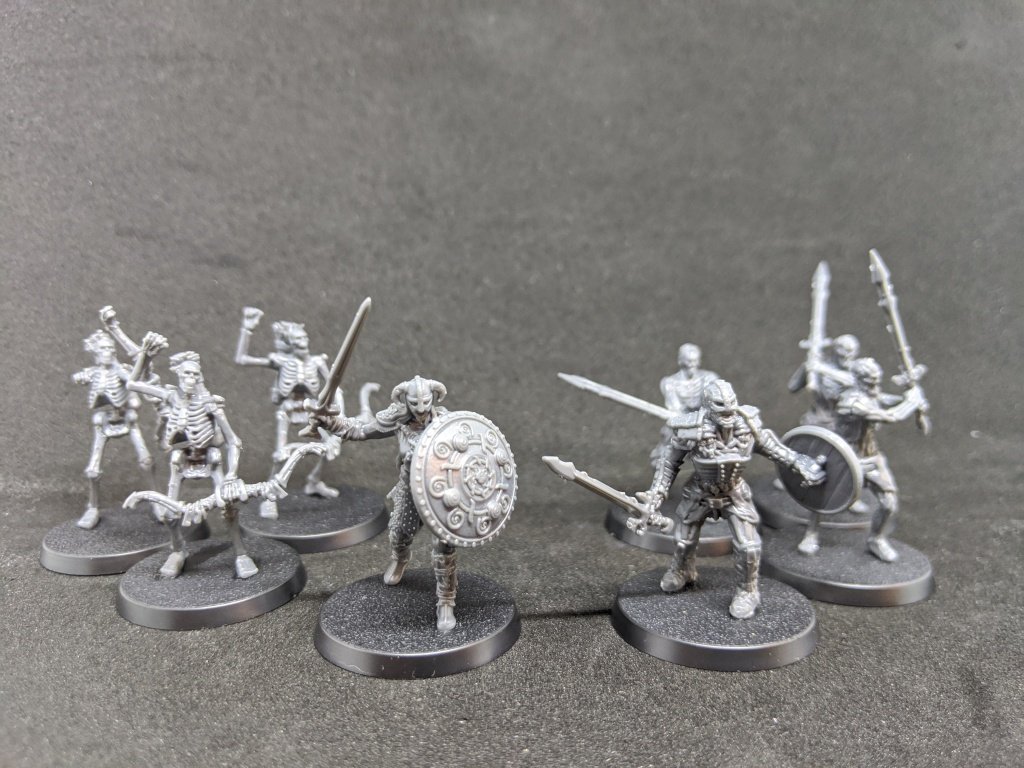
After a little bit of clean up of attachment points and mold lines, all of the models went together relatively easily, although, I would recommend glancing at the instructions for a few of them.
As I am still on a bit of a kick experimenting with Games Workshop Contrast paints, I decided to go with those for the majority of the painting, and these models took the contrast really well, nice deep cuts on the miniatures meant there was a lot for the Contrast Paint to work with and I think we got a good overall effect.

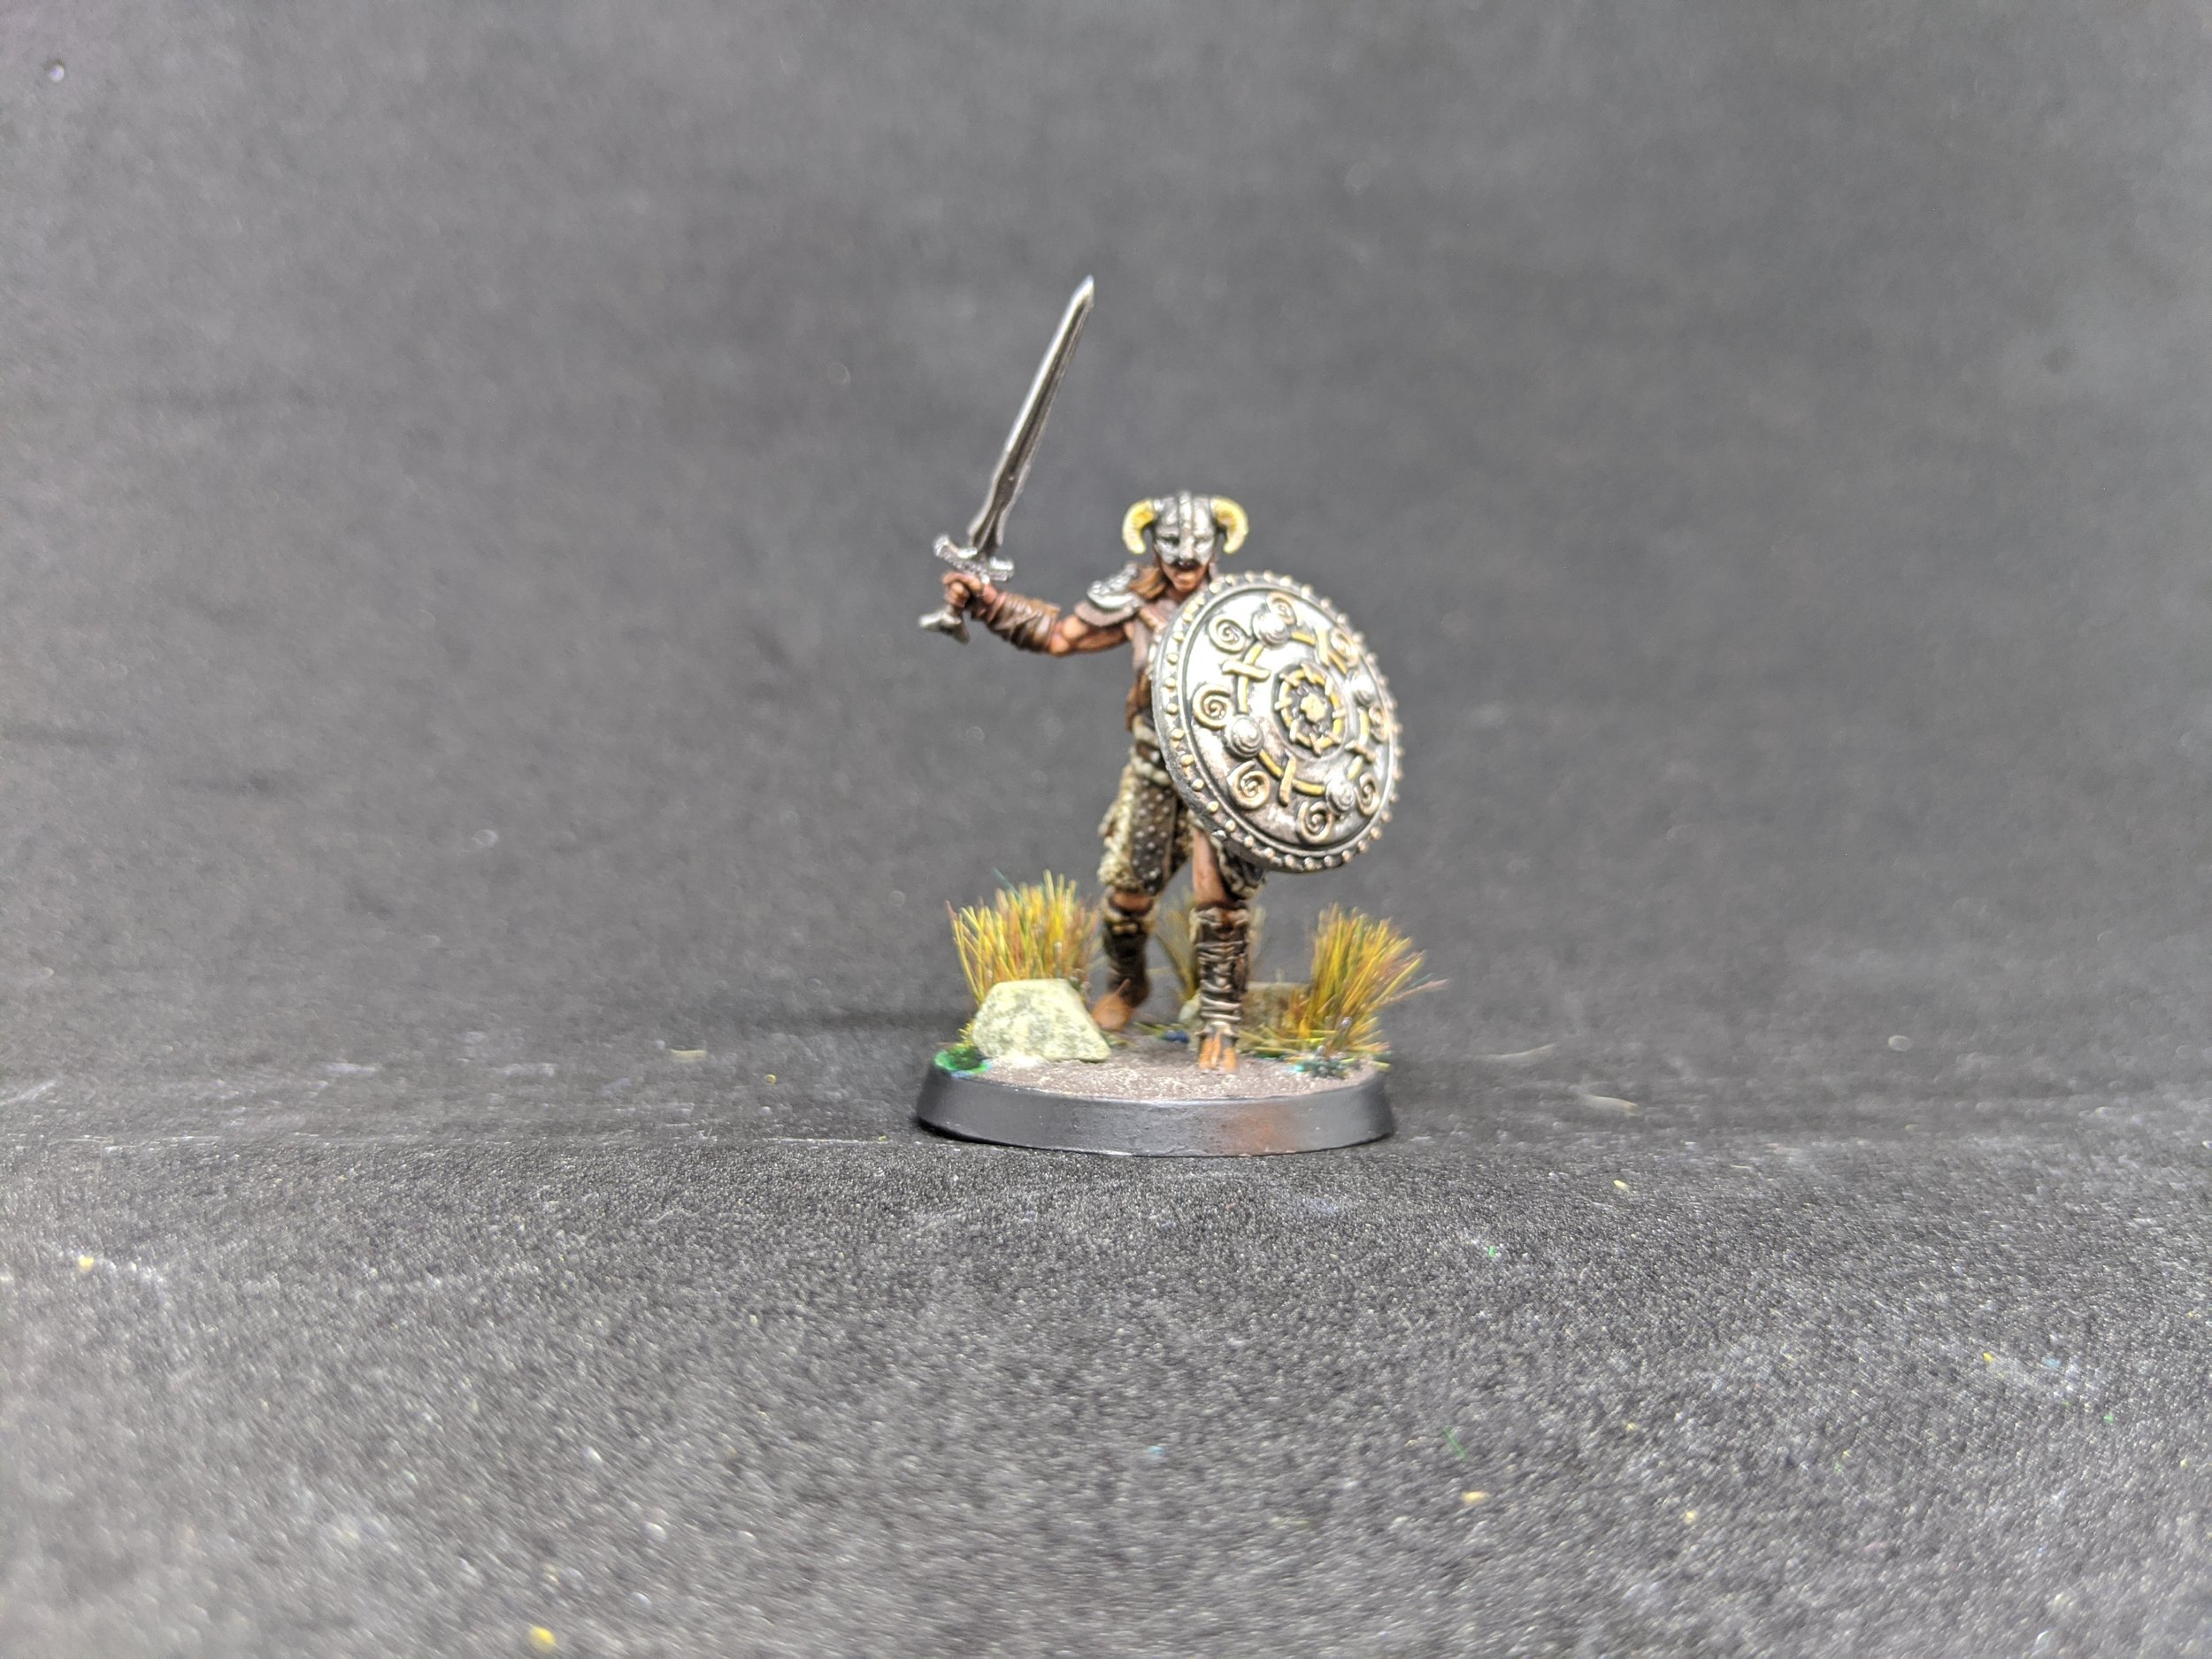
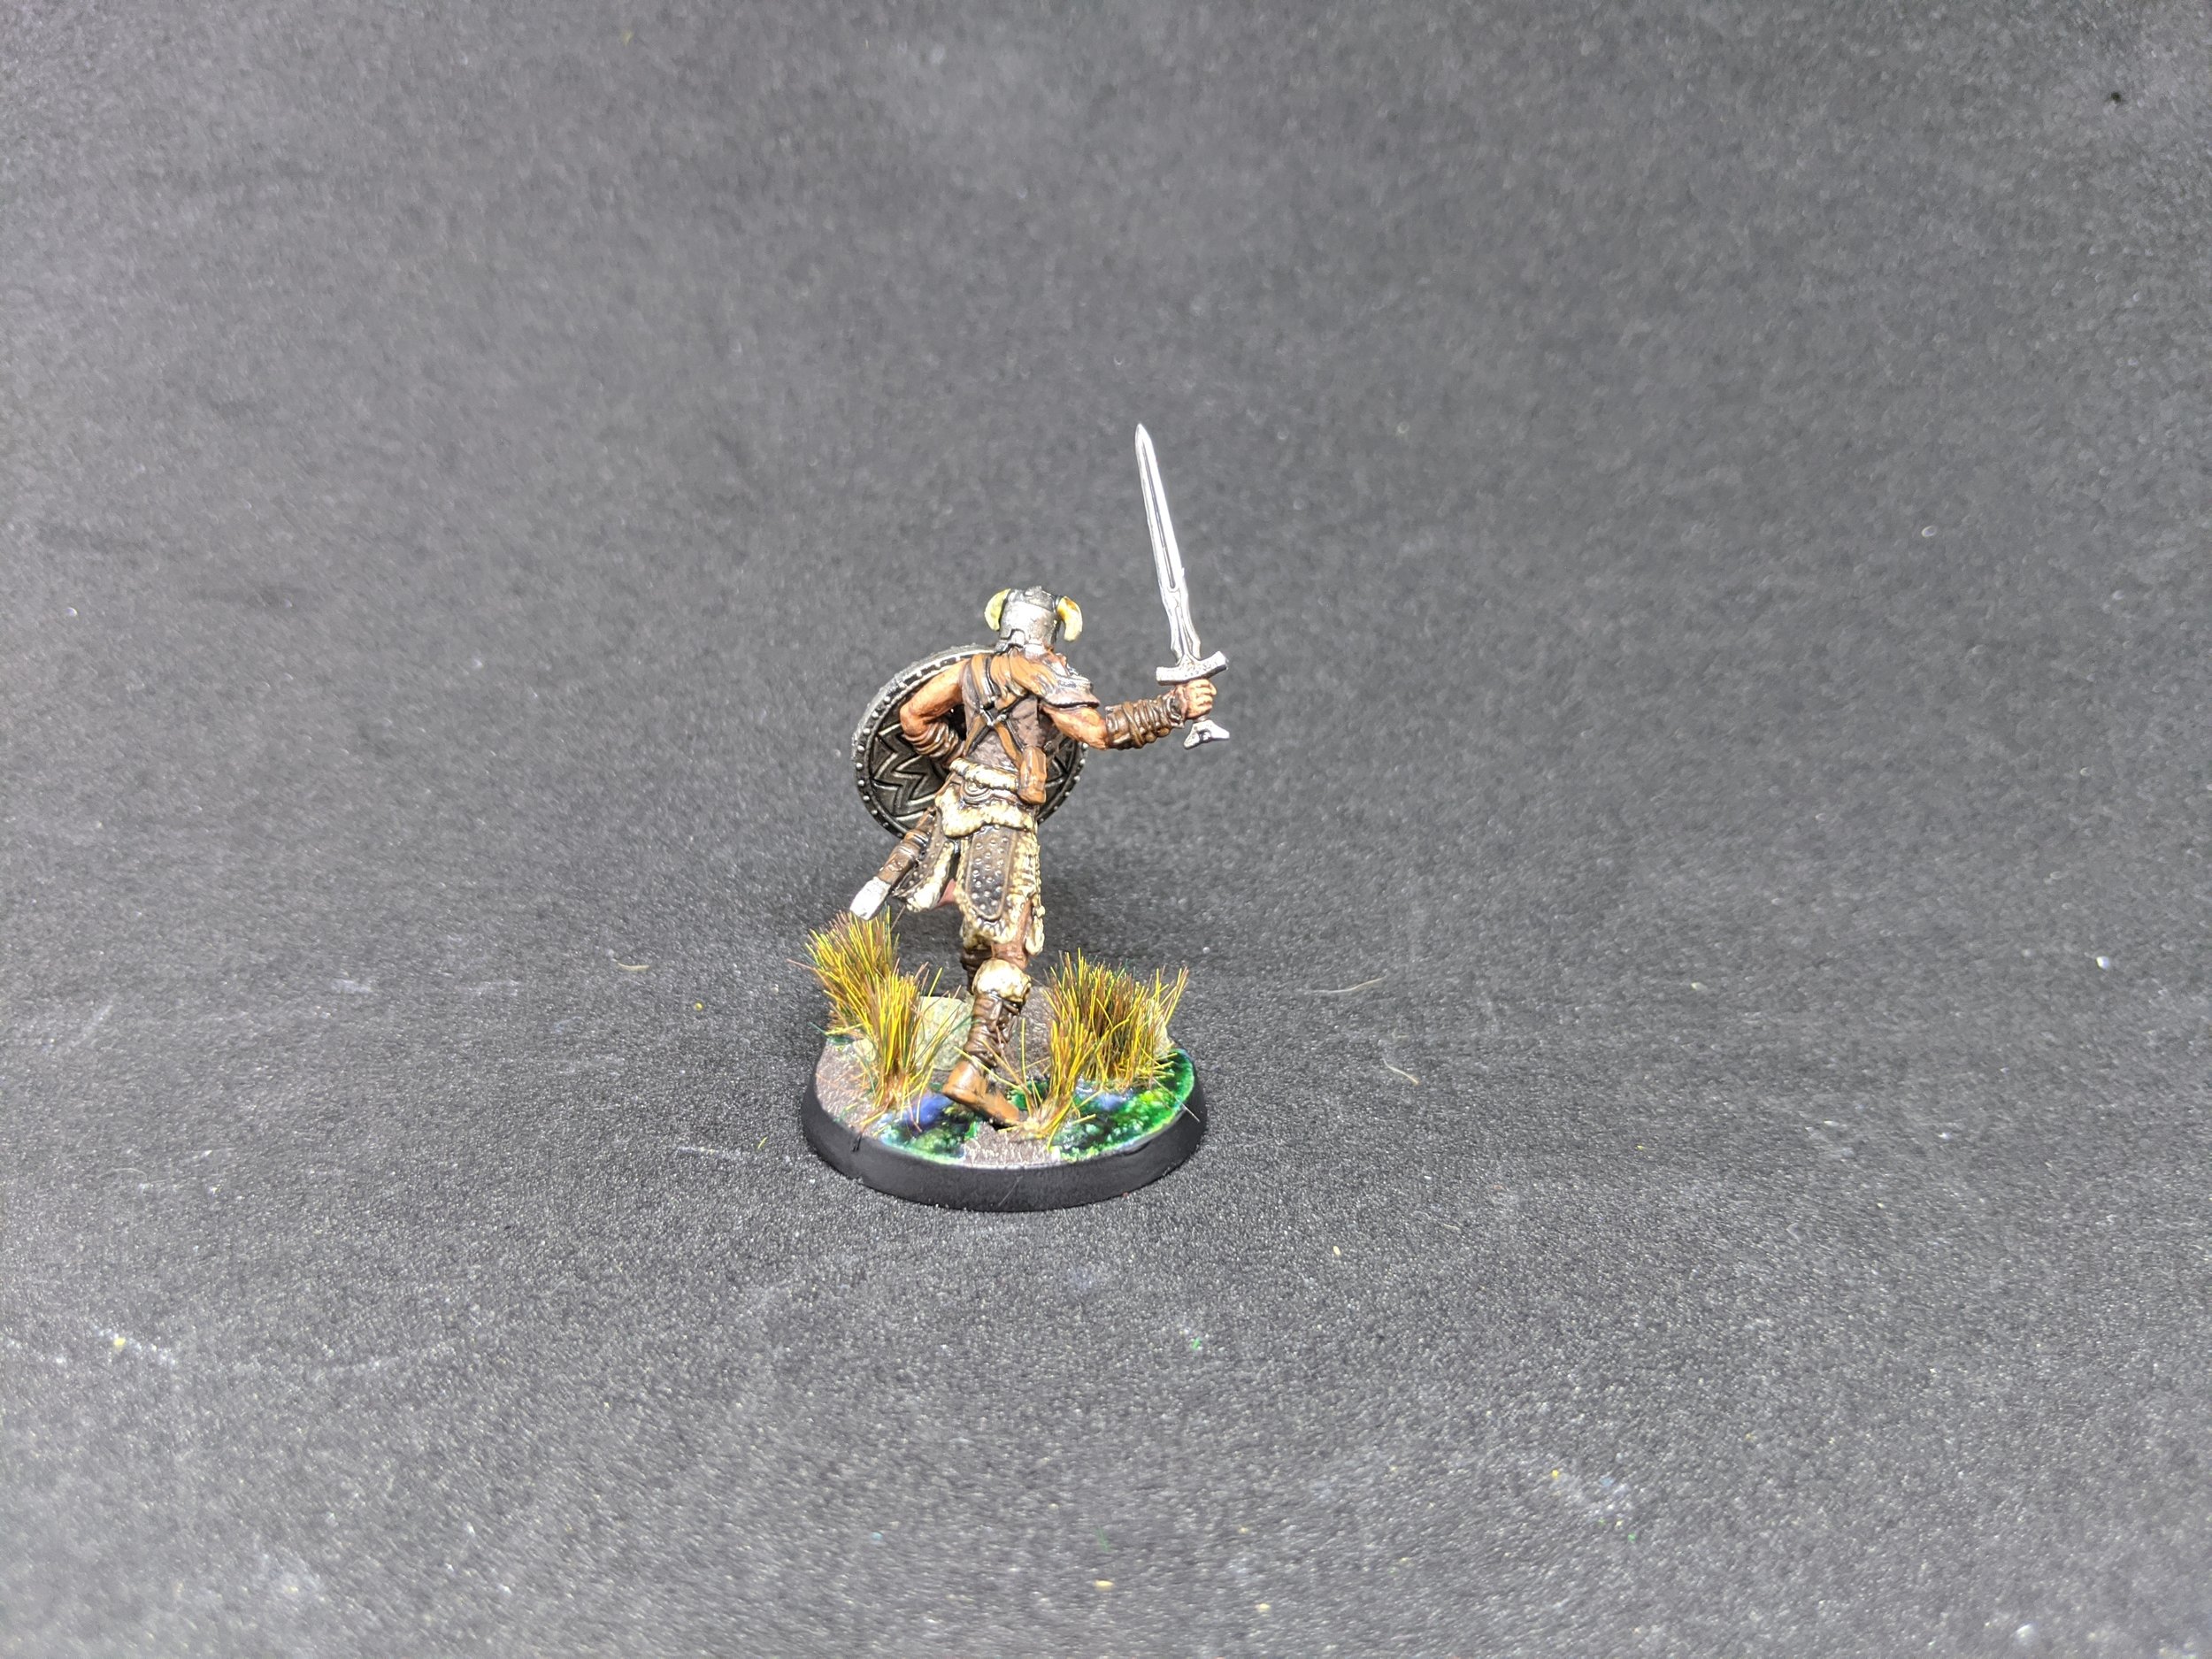
I did use a "standard" black undercoat for the Dragonborn, and painted her "properly" as she is obviously the centerpiece model from the set, so was worth a little extra time, but even then, I didn't do anything crazy. Basecoat, Shade, Layer, Highlight and she was done.

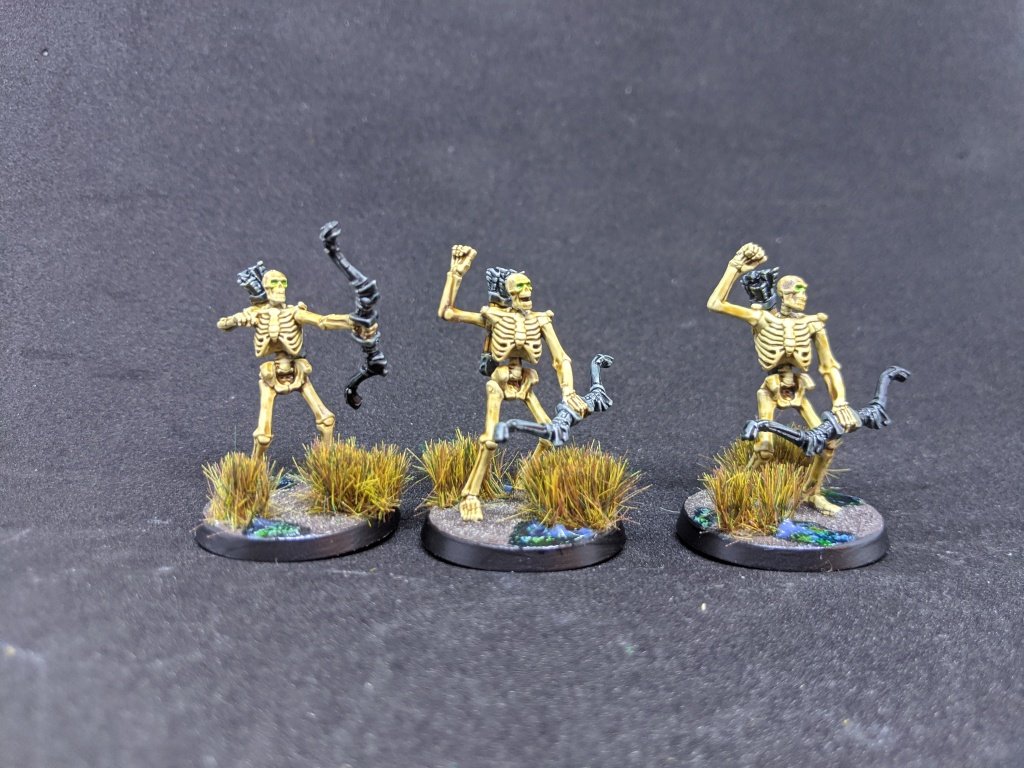
The Skeletons were super easy, a Wraithbone Undercoat and then (unsurprisingly) a coat of Skeleton Horde and they were almost finished right there, but, I had the Quivers, Arrows, & Bows to do so we did Snakebite Leather for the body of the Quiver and then Black Templar for the Bows and the Arrows.
The Draugr were a little more involved, but honestly, not by much...
They were undercoated with Deathguard Green, and then dusted with Greyseer, I then applied Guilliman Flesh to that, with Snakebite Leather and Wyldwood used, I blocked out the metals with some Leadbelcher and then used some Blood for the Blood God in the torso area to make it obvious from a distance that these folks were not quite right...
A shade of Agrax Earthshade just to mute them down a little and tie them in and they were done.

The Overlord was only slightly more work, as he has the extra details of his armour, shield and boots, but no real deviations other than adding in some Black Templar on to some parts of his clothes to help tie him to the Archers give a more cohesive look to the force.
With all of that done, I have a fairly high opinion of these miniatures, whilst building them was not the most fun due to the layout of the sprue and the slightly overly intricate nature of some of the miniatures (does the Draugr Overlord really need his feet to come separately to his ankles?!?) this was more than made up for with the ease of painting them, the sturdiness of the bases and how good they turn out with fairly minimal effort.
Whilst I have not managed to get my hands on any yet, I think I would recommend the extra cost of the Resin miniatures if you are wanting to paint these to a Display Standard, but think that this is a solid kit, and now that it is finished, I am even more excited to get them on the table, get some dice rolling and then crack open some of the other boxes and build and paint the next batch, which is always a good sign!
- Kris