
Being An Arbitrator Part Three: Big Plans For Eventual Return To The Tabletop
Previously, I had locked myself into a rather large Zone Mortalis building, assembling and painting project. Purchasing enough (I think…) various kits to provide me with all manner of columns, walls, doors, platforms, stairs and a plethora of assorted bits and pieces...not to mention the eight tiles themselves...and a bunch of other stuff I had lying around...Once I had bought, trimmed and assembled the various parts it would be fair to say that I had a whole lot of stuff.
I have completed two tiles as Dome Jungle and taken another tile for a chaos theme, which leaves me with five tiles remaining. The trick is to have these tiles match each other when I’m finished. The first three don’t really need to match and could be (and were…) completed at any time. These last five will require a bit more careful planning to see the project through. So, once again we arrive at the ‘order of operations’ before we get stuck in fully.
Cost is always my first concern and also wastage. Both can be cut down when you set up the project smartly. So, hopefully I’ll figure out how to do that. I have put out the five tiles and all the supporting stuff on a rather large table, in my shop, where it can remain, undisturbed, until I'm satisfied with the placement of everything. I am doing this, and re-doing this until I am sure.
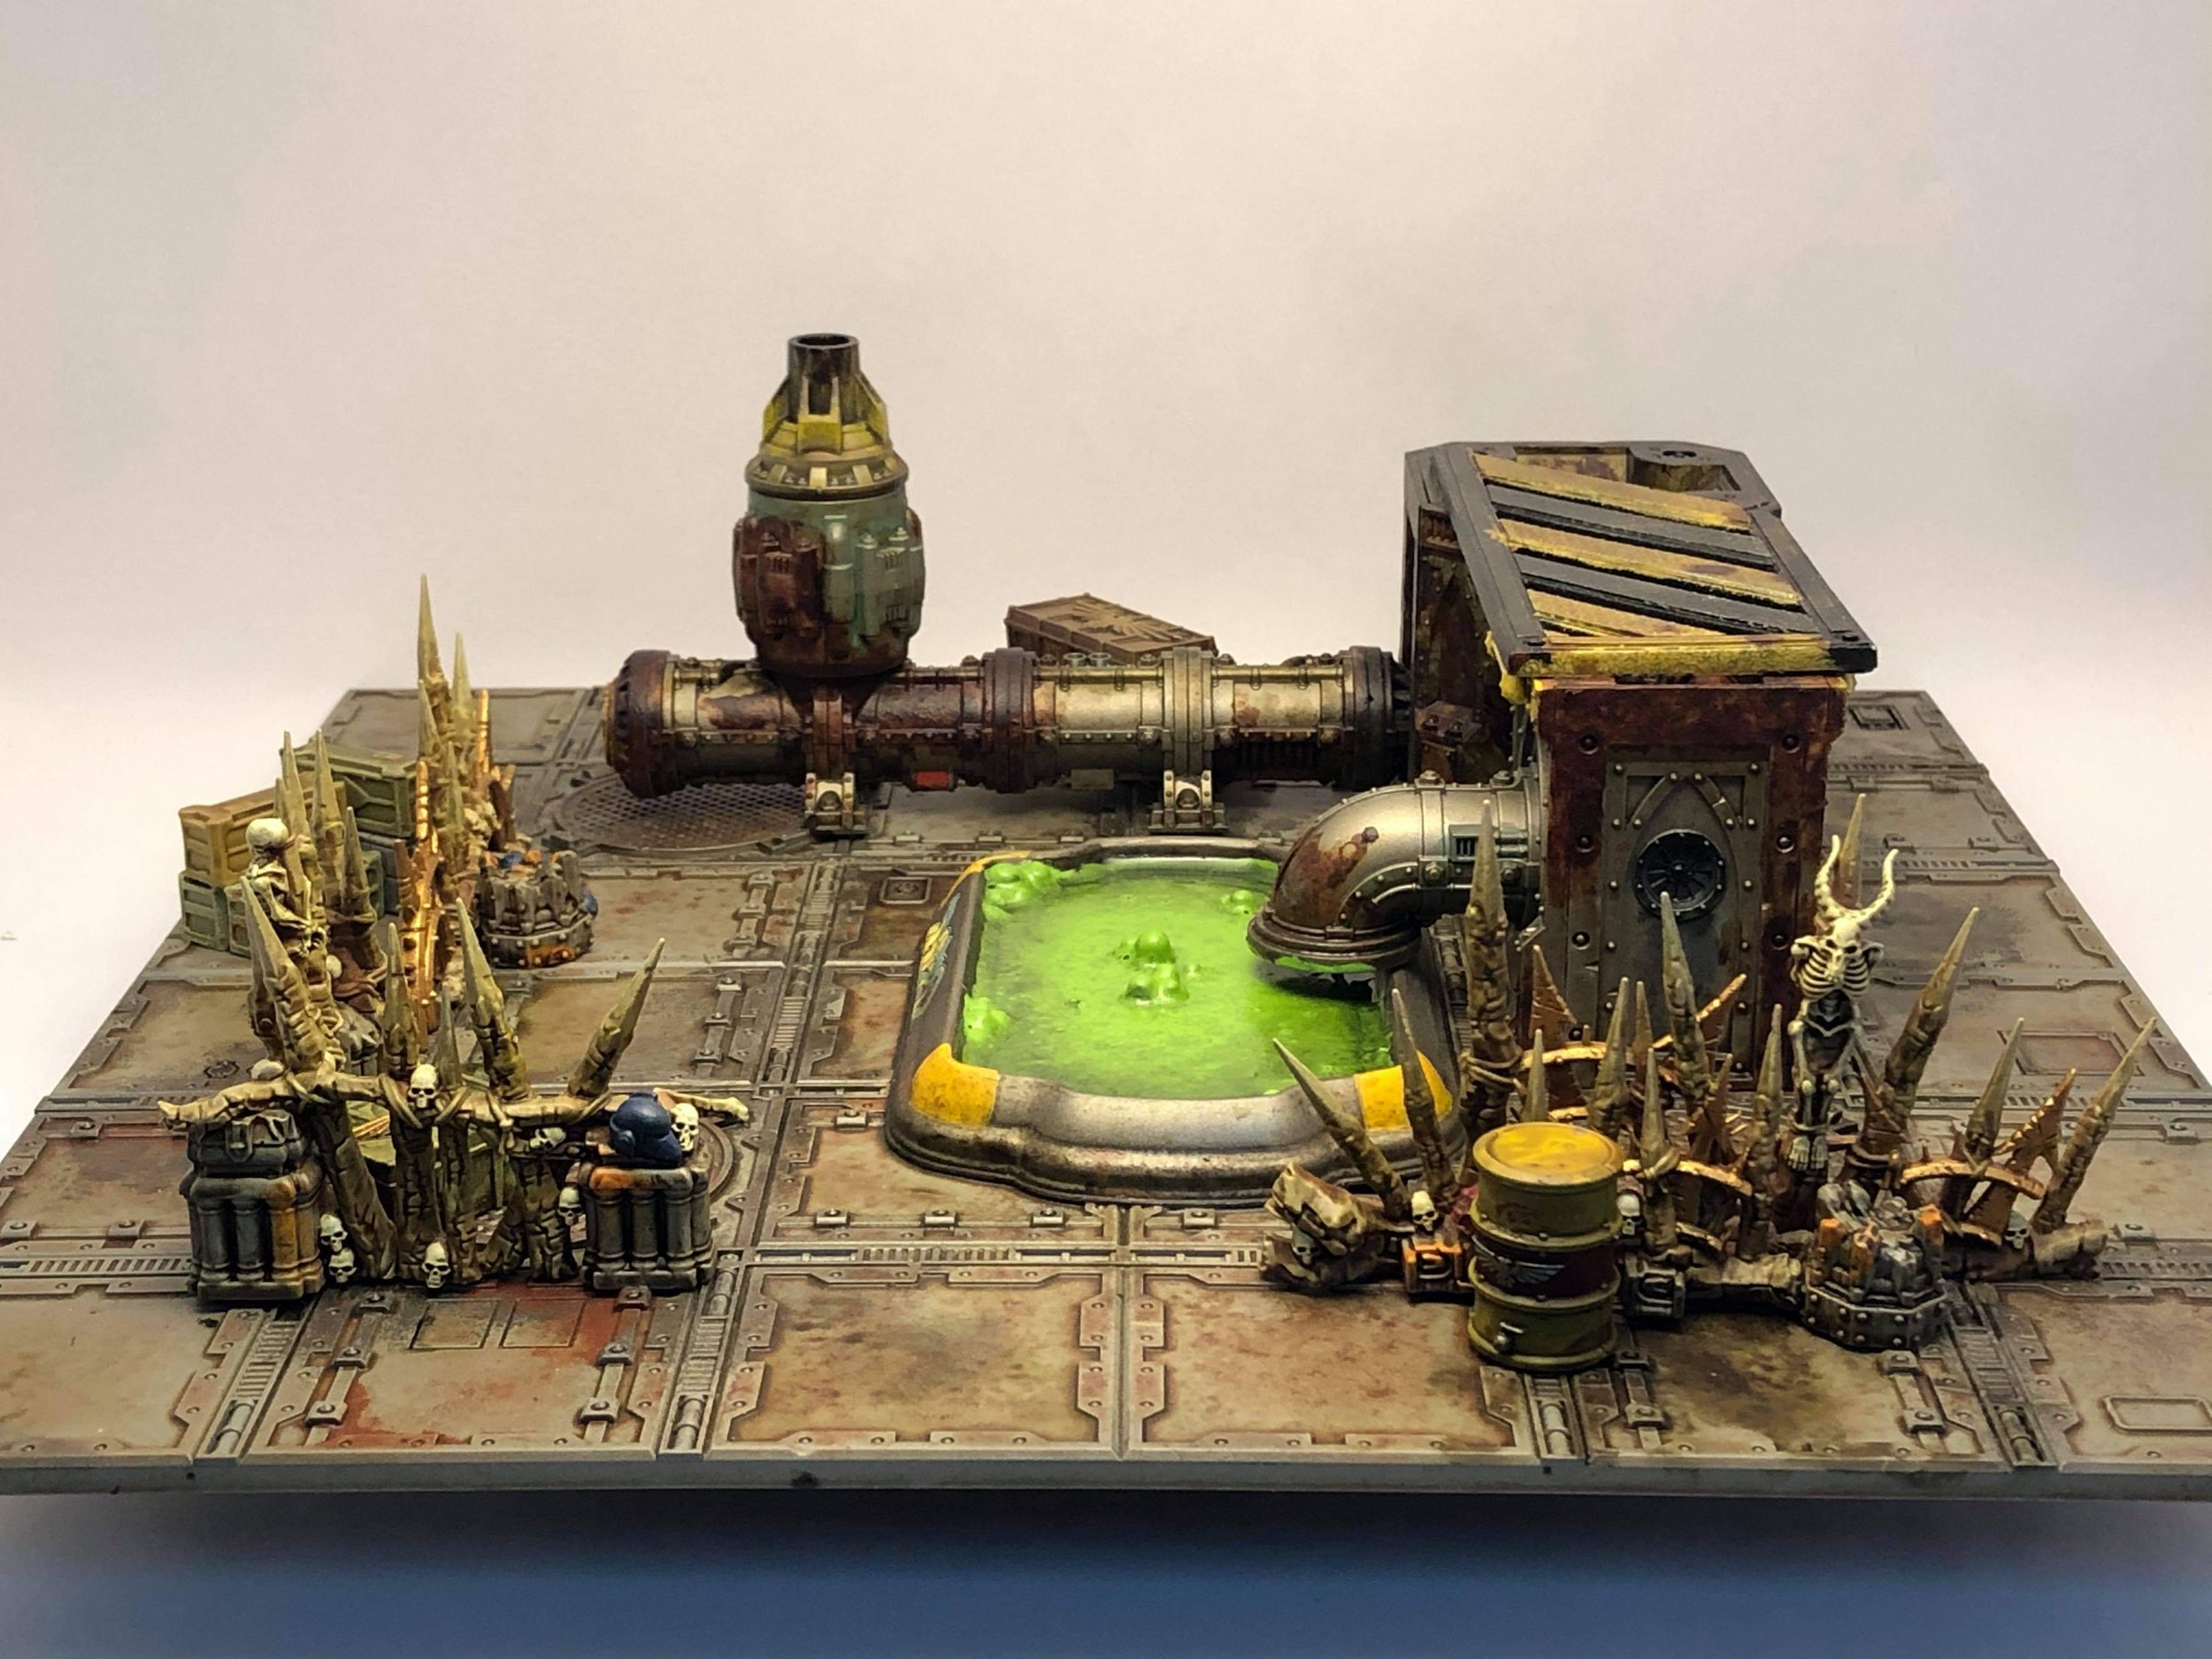
If you were futuristic daemon worshipers you would need a quiet gunk pool away from non-believers. The ‘Chaos’ tile.
While I am setting up my tiles I am contemplating colours. I want an easy paint scheme with a nice visual that is different from my existing Necromunda scenery. I have settled on an ‘Uphive’ setting for these last tiles...which means it won’t be as rusty and decayed as my other settings. Rather than a brown/ orange I will go more blue. I think I can get all five tiles sprayed with two cans of grey spray paint and finish painted with only five or six additional colours.
Besides the paints I have a bit more specialised gear to help pull off my plan. Alphabet stickers, masking tape and foam chunks. I never said it was an exciting list. Any time I see sticker sheets with letters and/or numbers, in any size, I buy them, and so, have a good stash for various places throughout. The doors photoed last article were done this way. I’ll be trying some 6mm masking tape from Tamiya and I’m excited. Normally I cut my own from a larger roll of tape for an uneven finish. This tape will allow me previously undreamed of precision. And finally the foam chunks of various size for sponging spray paint and lighting effects and easy application of rust, grime and generally anything uneven or blotchy. Never doubt the value of foam chunks!
With the addition of this stuff, my Chaos tile can also become an Ancient Manufactorum!
The plan is fairly simple. Now that I’ve given it some thought and once I have a final spin or two of my set up tiles I feel ready to begin gluing everything together. I tried to assemble a good variety of tiles and aimed for making each one unique from the rest with some special feature or another. Once glued together the tiles were all sprayed grey and left to sit for a few days.
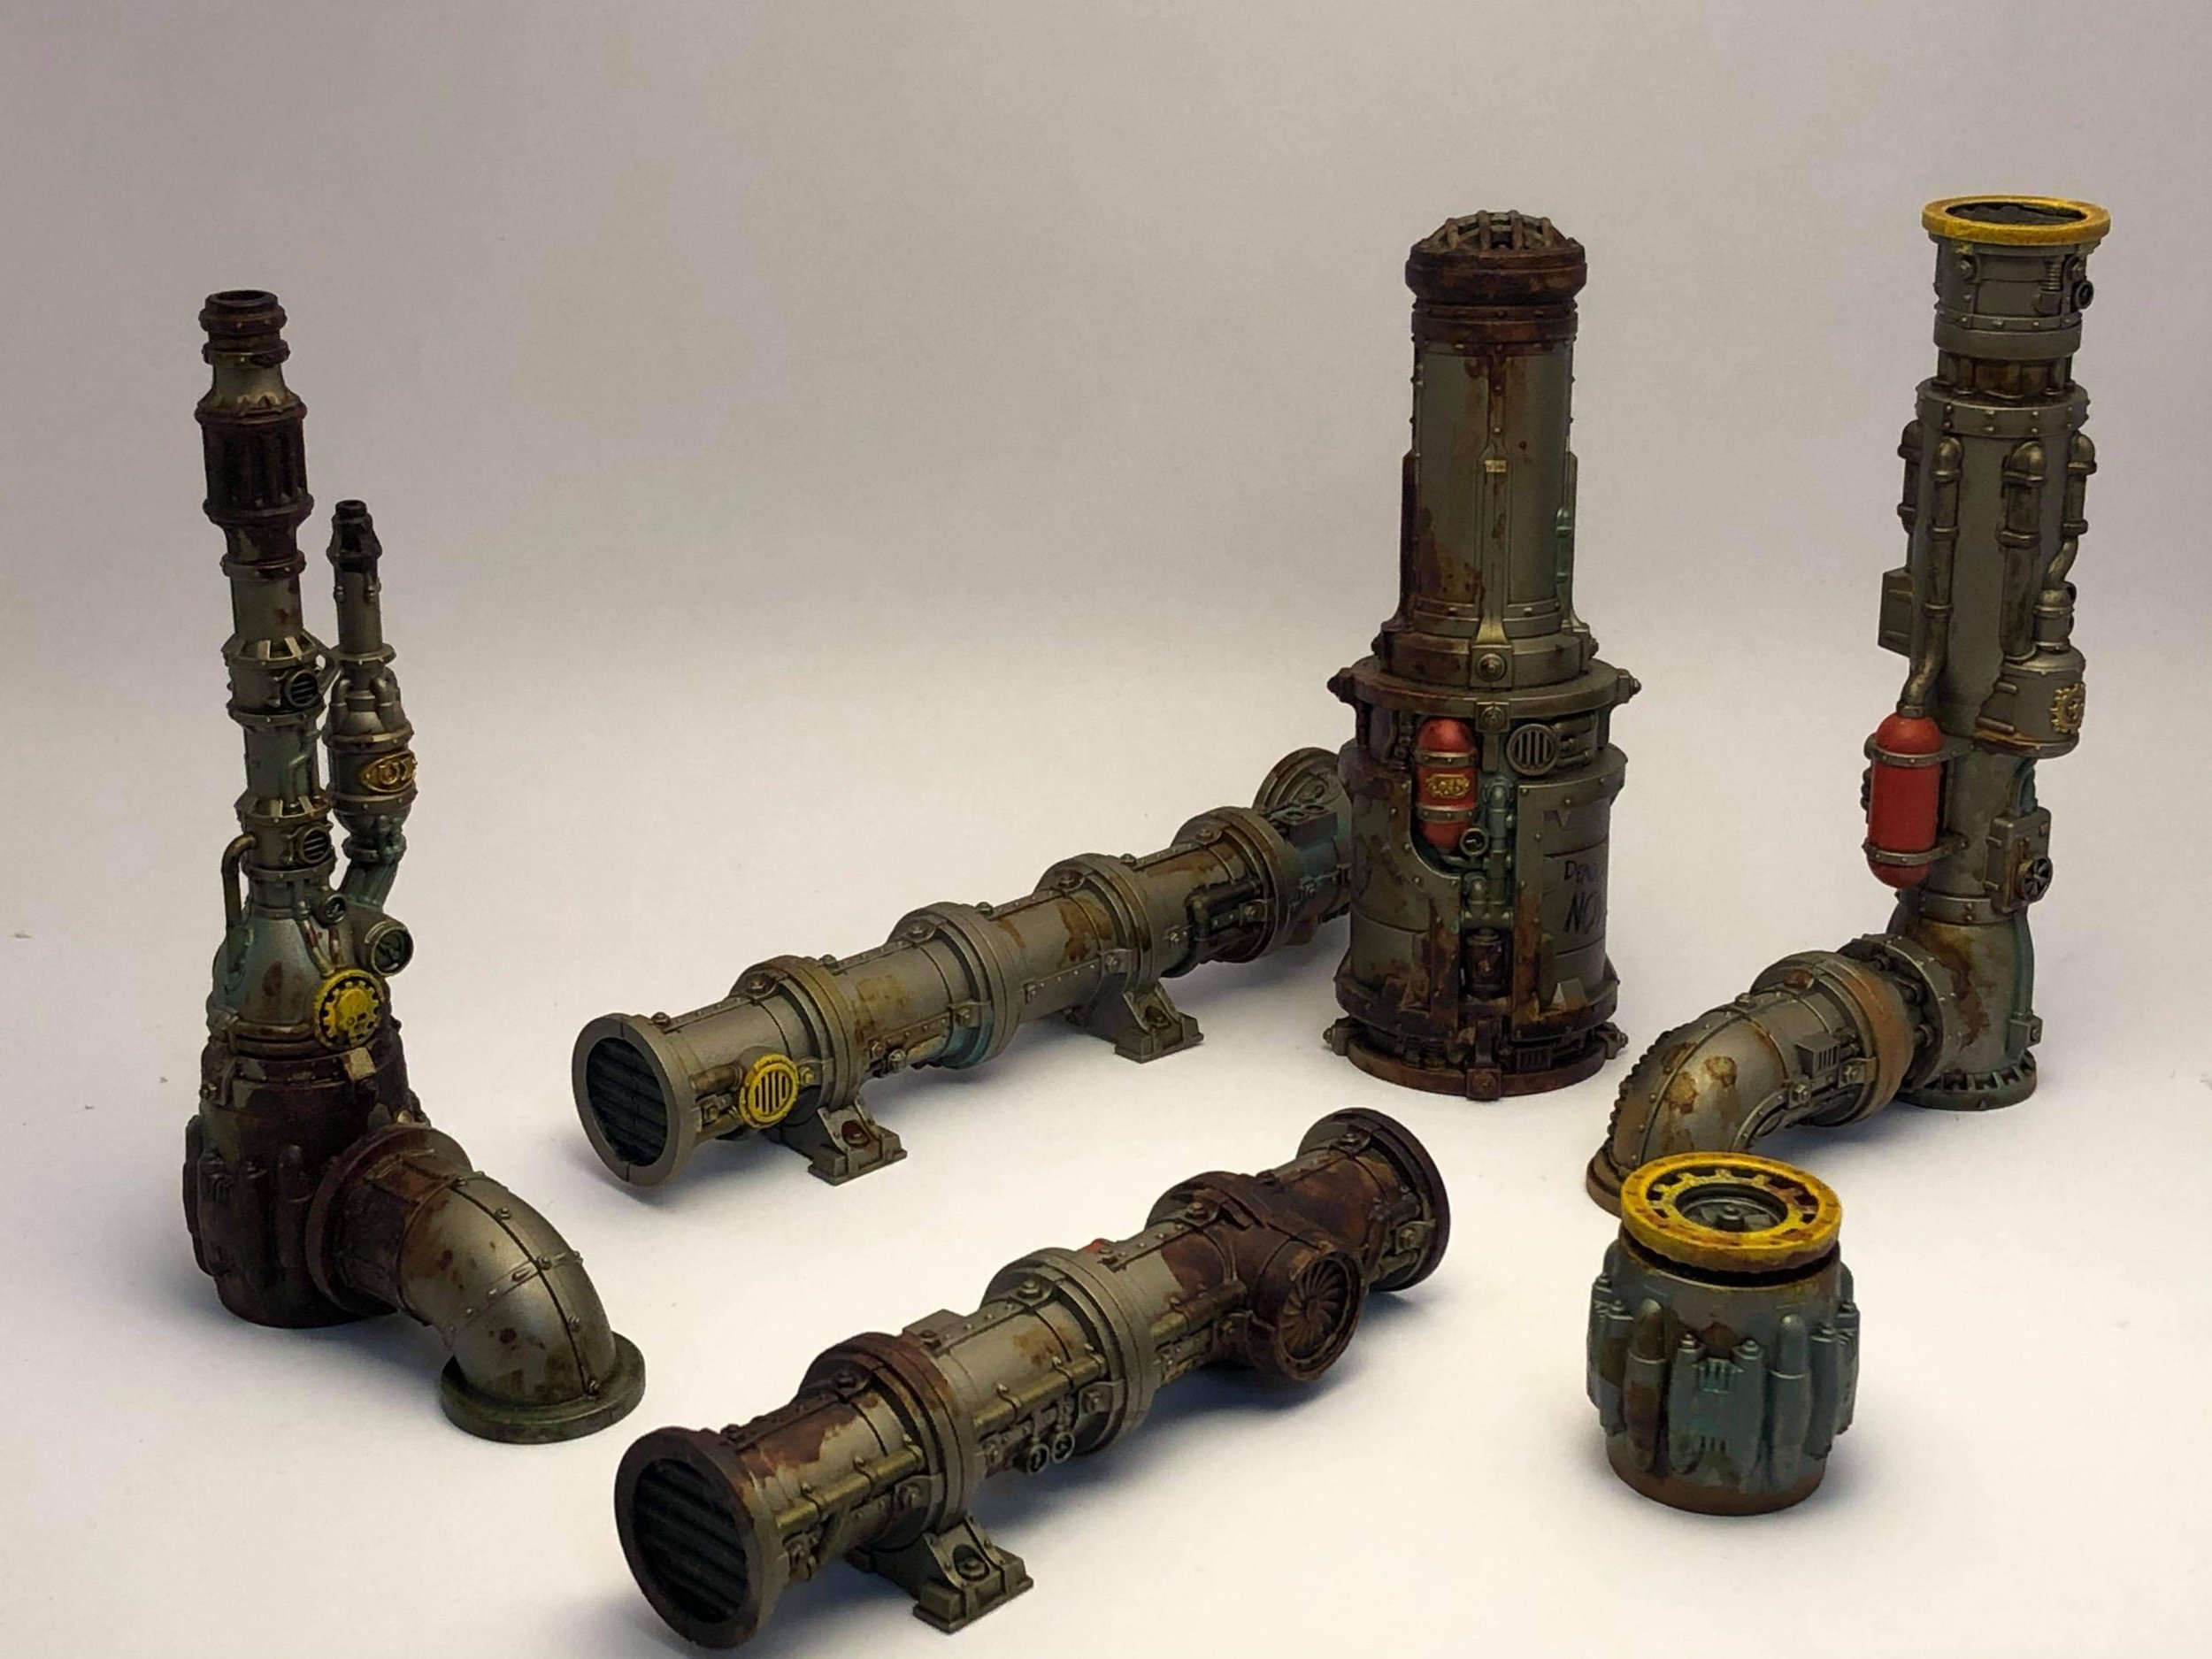
The pipes that I had were painted separately from everything else and would be glued on after other components had been painted. As I was busy painting the pipes I also started masking off large areas of floor which would be a different colour and contain text or numbers. The effect is easy but requires thinking about the paint job backwards.
After the area was masked off it was painted black.Once dry, stickers were applied and then the whole area was painted blue. Then the stickers were removed. What you get is black writing on a blue background. Once this was done I masked off the edges of some of the blue areas and did some danger striping; painted black, masked off, painted yellow, mask removed...you get the idea. I like the Tamiya masking tape.
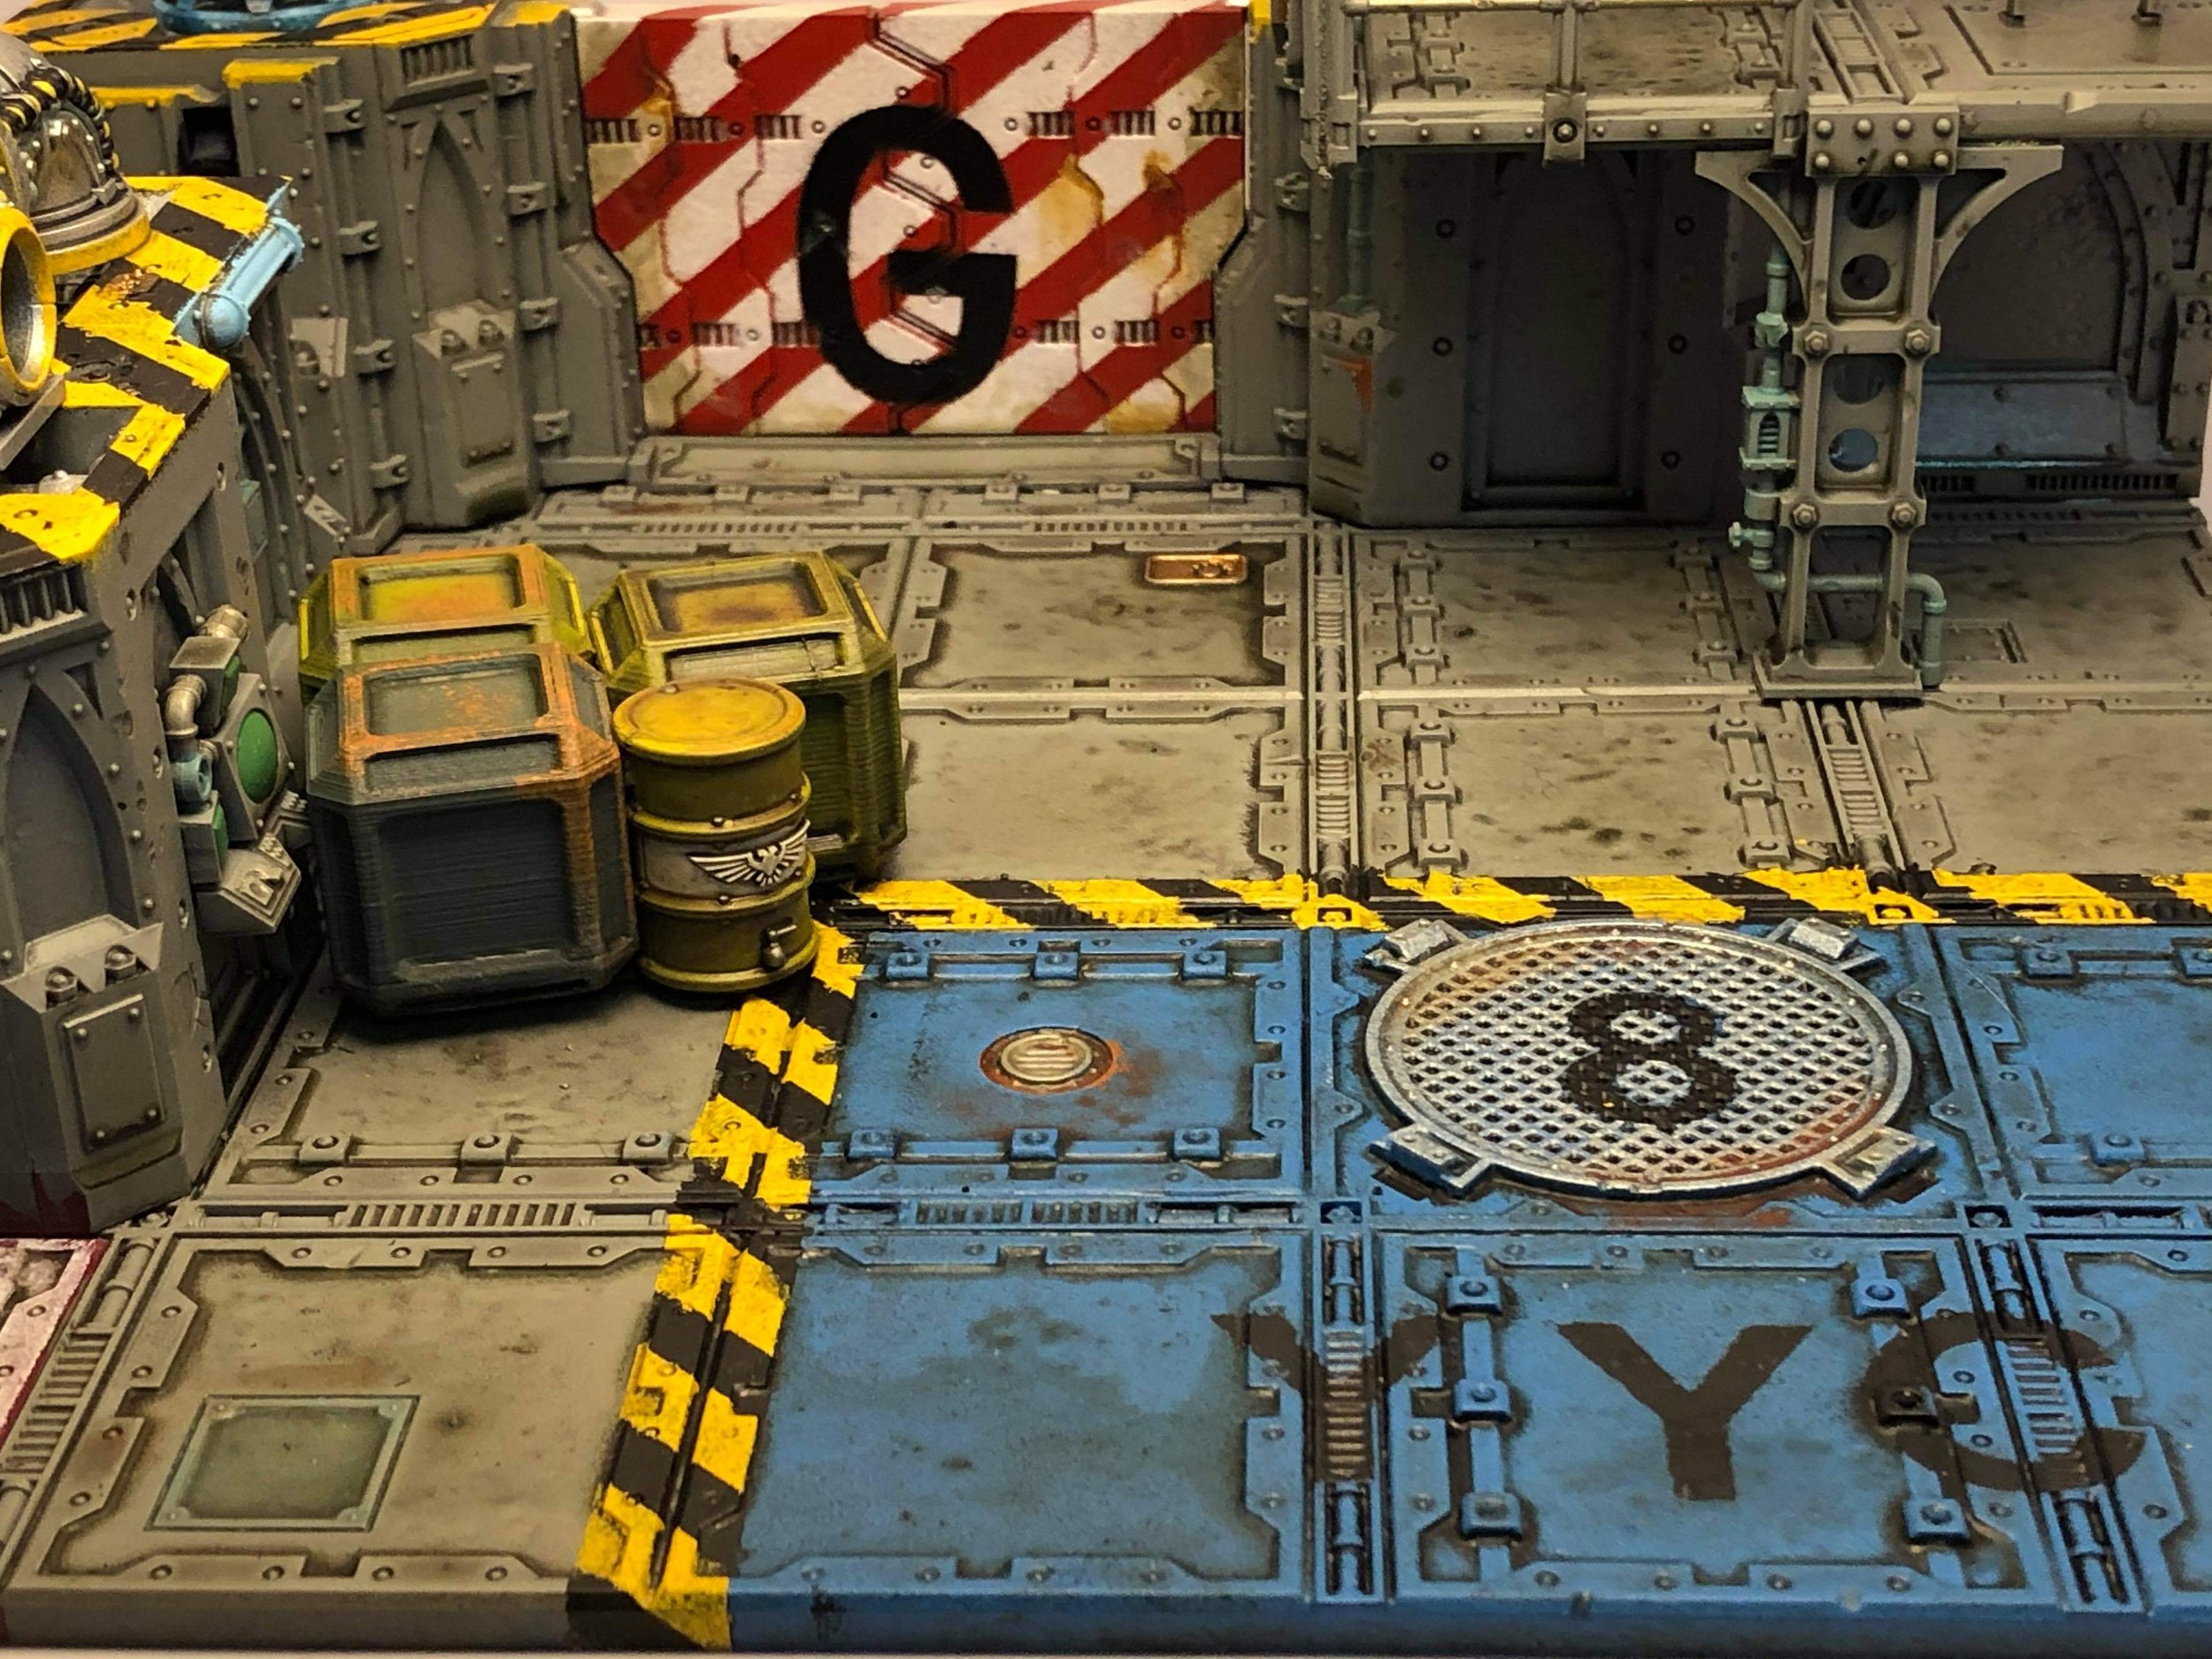
Danger Stripes for everything! In all seriousness though: Danger Stripes look super cool and are easy and fun!
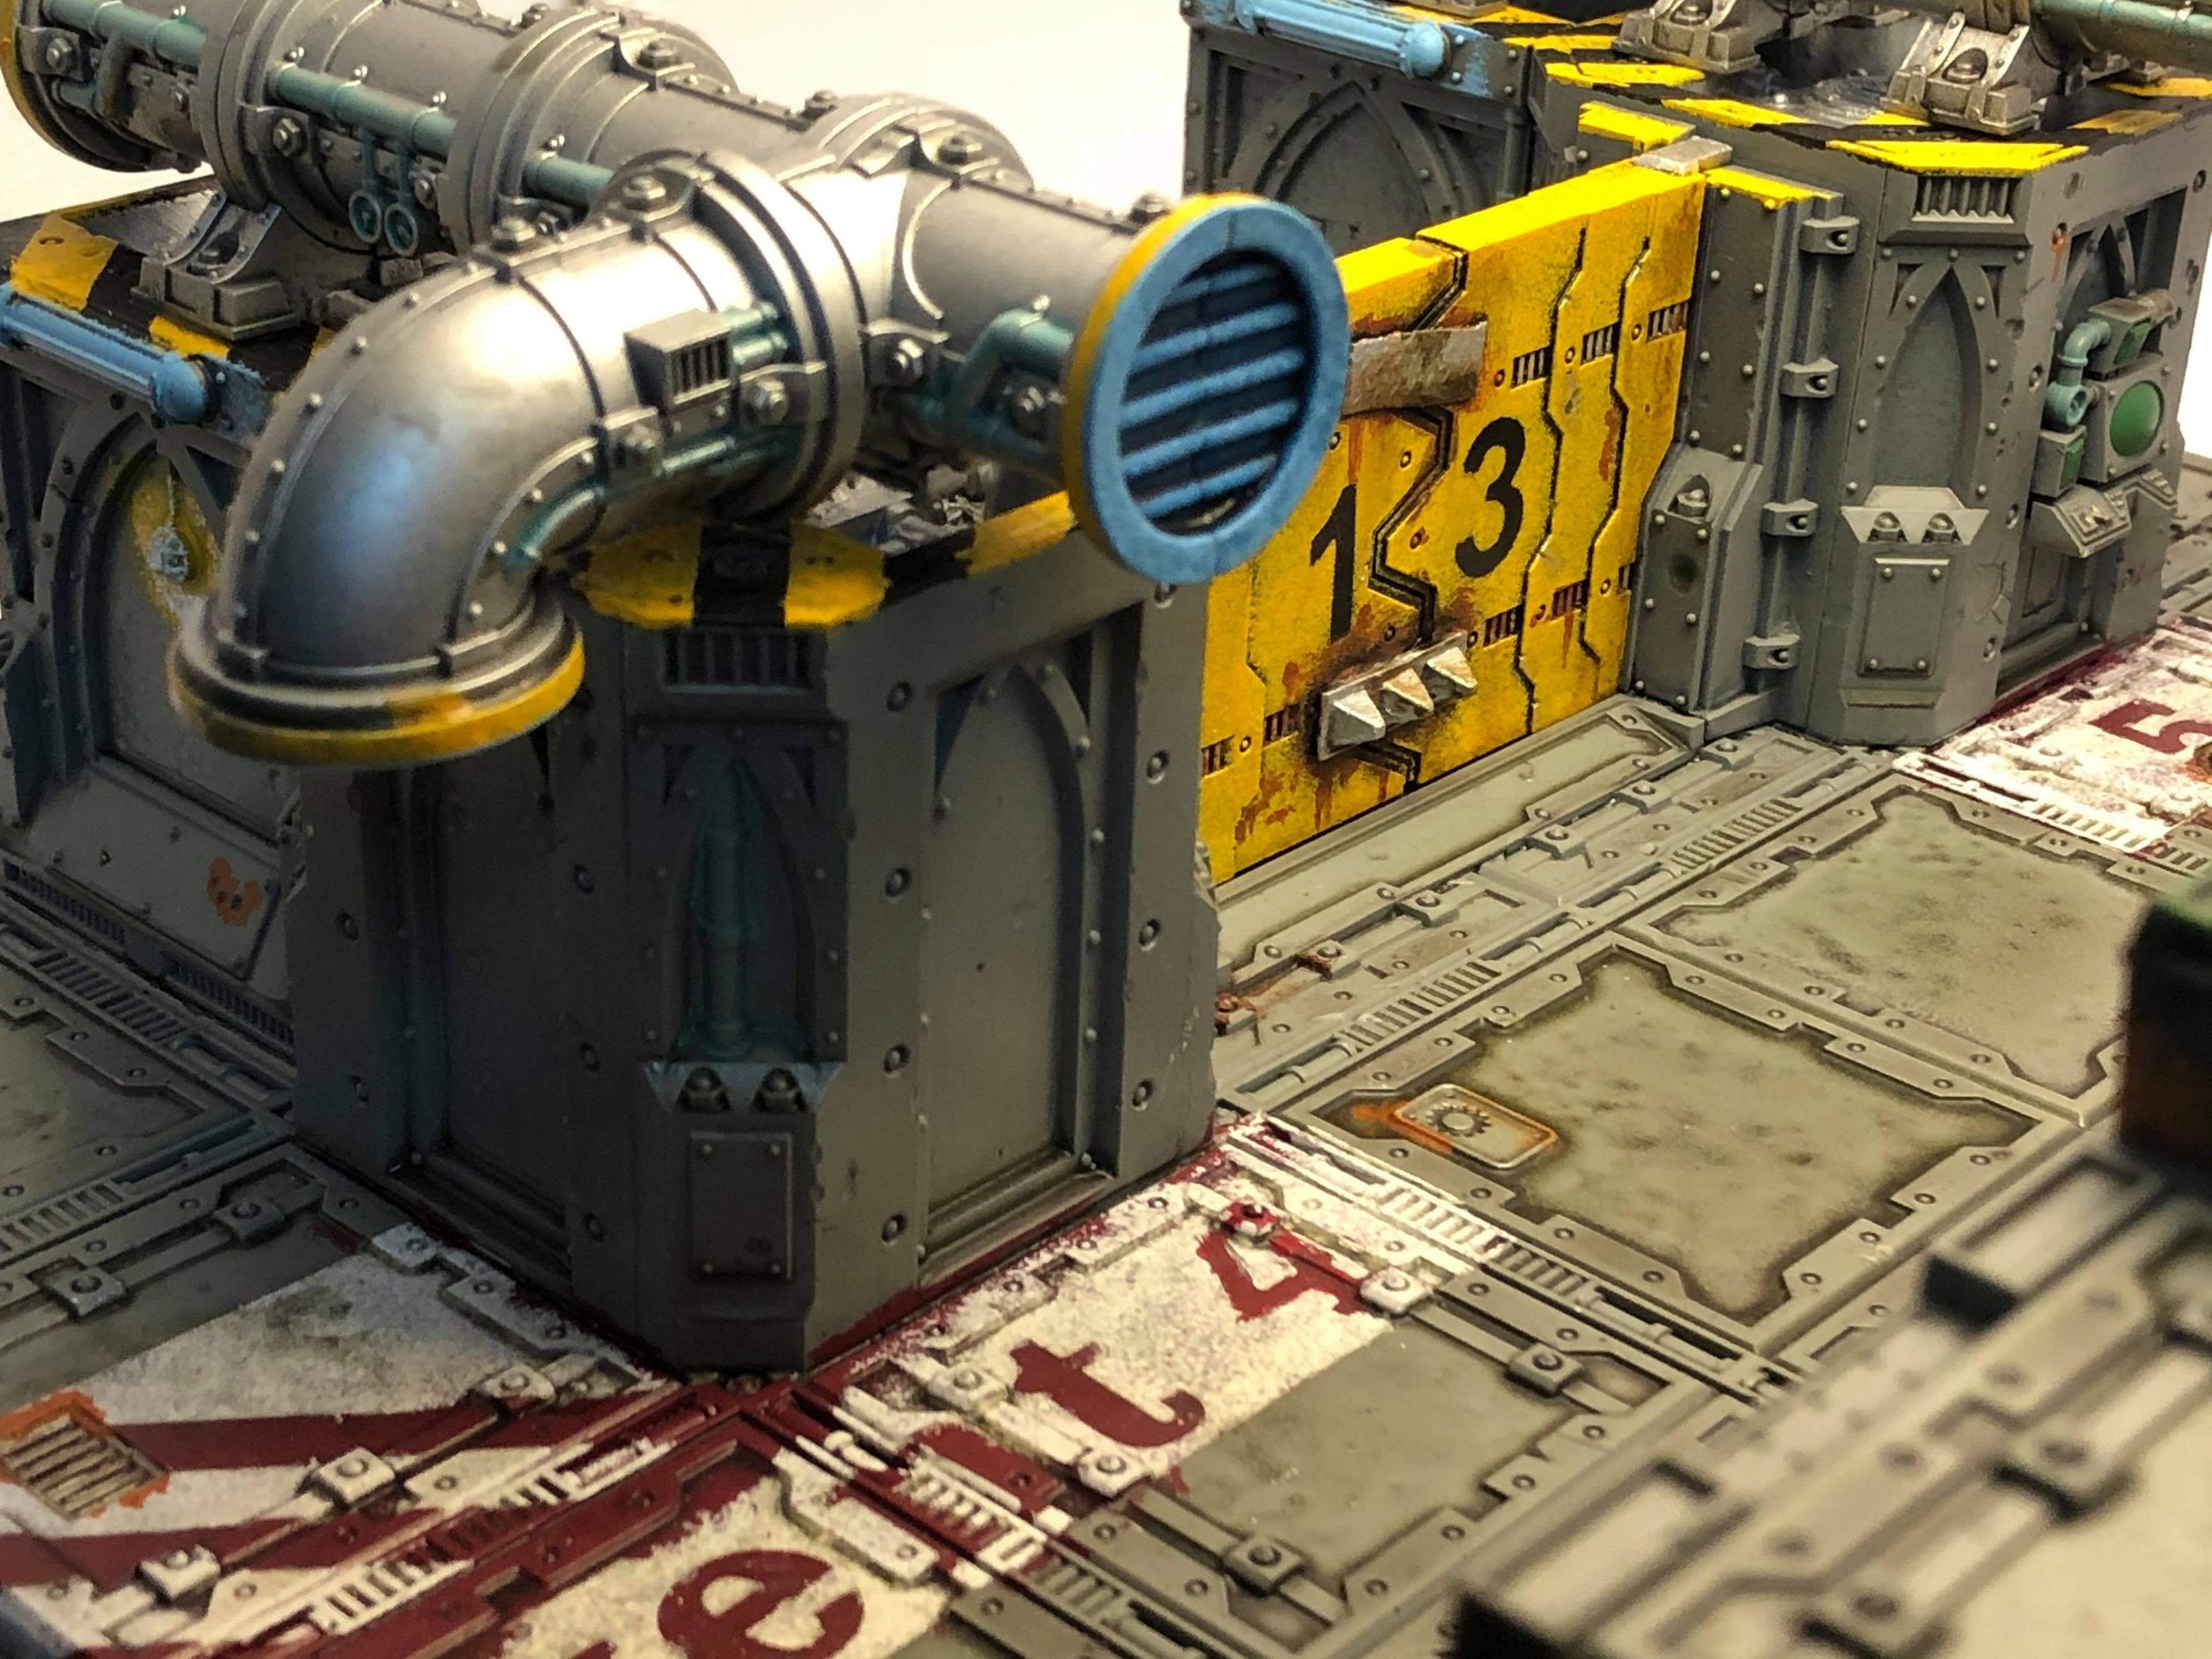
Once I had the pipes and floor sections squared away I began by focusing on the pillars and walls that were ‘open’ on top.They can be assembled with a walkway/upper floor or without, leaving a recess full of tecno-stuff. I will be placing the aforementioned pipes on top when both parts are painted. First the wall interior was painted silver and then the edges sponged black. That Tamiya 6mm masking tape is the perfect size for these walls and columns. There are also plenty of visual cues on the pieces themselves to make sure your tape is evenly placed, and will match the other tiles. Then sponge yellow, remove tape and stick on the painted pipes.
The pipe sections and painted floor sections are the areas designed to make the scenery pop, a nice bit of colour against the standardized grey of the rest of the YYC Hive. Which means it’s time for more repetitive labour! I used a limited amount of colours and washes here, basically picking out bits on each tile individually. Once I was satisfied with the amount of interest bits I added a smattering of rust and then gave the pieces a good soaking with my super sealant wash.
Super sealant wash is my all purpose light grime and excellent scenery sealant mixture and is nothing very fancy. Get a good size spray bottle and fill it with a can of Vallejo Game Wash dipping formula, one tall bottle of Drakenhoff Nightshade wash, and then fill up with Pledge Revive Floor Gloss. I also add a bit of water from swishing out the empty containers. Test out a spray on a piece of cardboard and see if it is too dark, if so a bit more floor gloss or water..
How badly will you be burned if these pipes vent off some Promethium? (as an action, from any model at a terminal) Very, very badly is the answer.
I let the pieces dry for the better part of a week on a level surface and did a bit of aftercare; mopping up any areas where the mix was too thick. Once dry, they look very shiny. Dull it down with a bit of matt spray and have a look at what is going on.
At this point I masked off and painted the squares directly underneath the promethium vents for a nice reminder if players need to be in those areas. Then I began sticking on all the other stuff I had. Crates and boxes, storage containers, tire piles, barricades, ammo caches and a giant floor fan.
Once I had calmed down I applied a bit more grime in selected areas and soaked it all again with my mix. Then, as before, let it all dry for three or four days then seal with a dull coat and they are all done except for the lights, which were sponged last to look brightest.
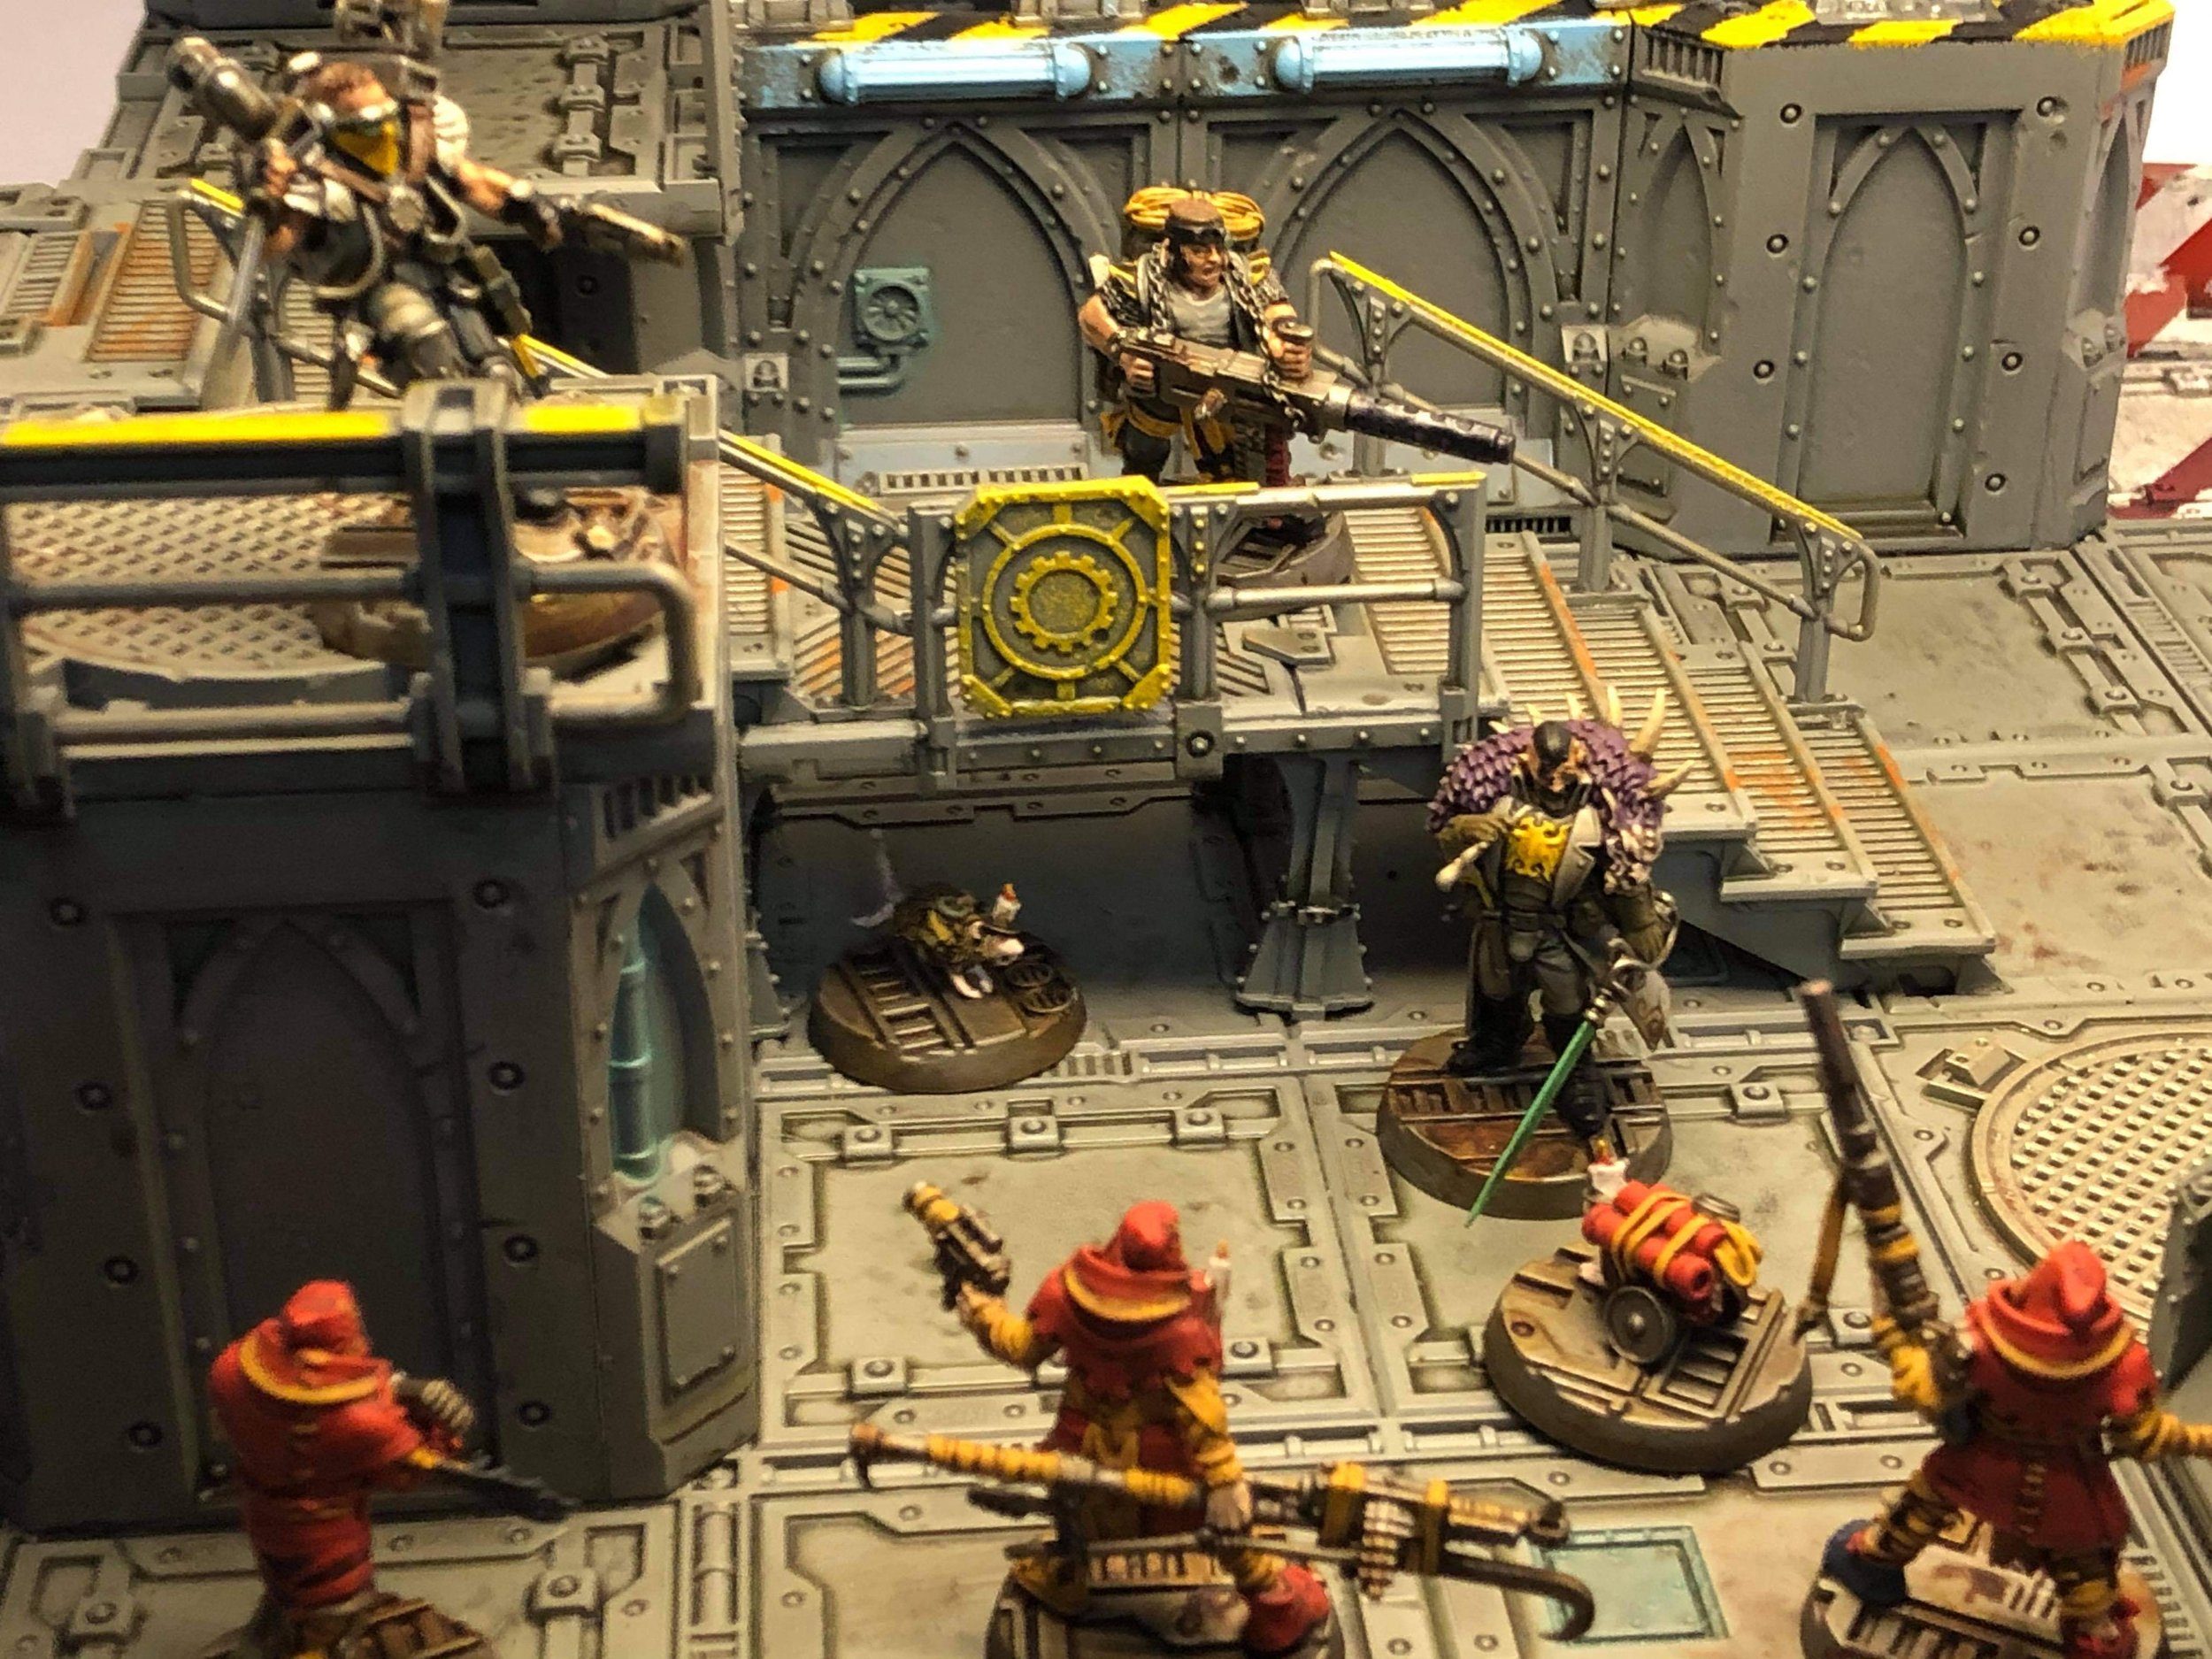
A bit of gang violence on one of the new tiles. It feels ’proper sci-fi’ now!
Next time is the big reveal as talking about the build has killed off this article.Expect lots of cool photos...and possibly some musings on campaign stuff as well.
-Uncle Mike